
Last updated September 20, 2026
Free on-site gate assessment - hinges, posts, and your LiftMaster or Nice gate operator checked before anything is quoted
The assessment is free and the quote is the invoice.

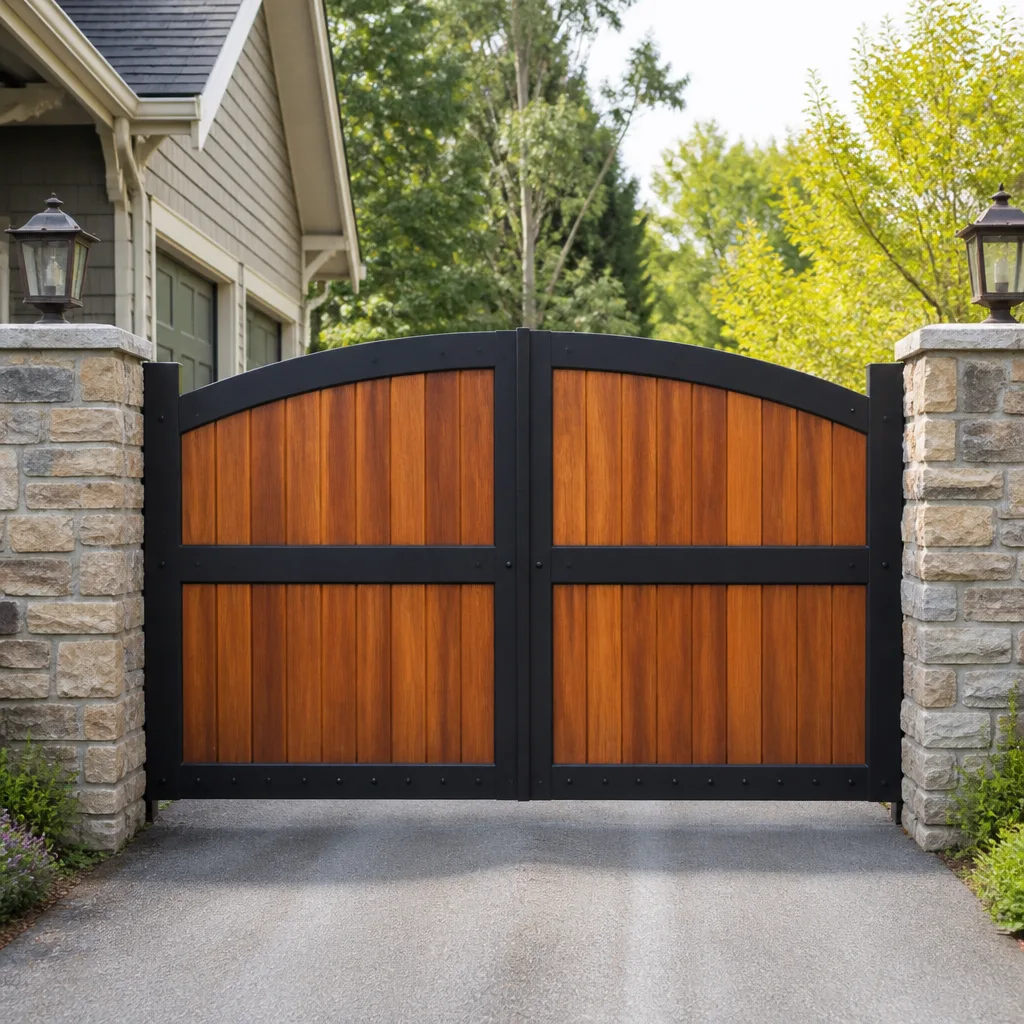
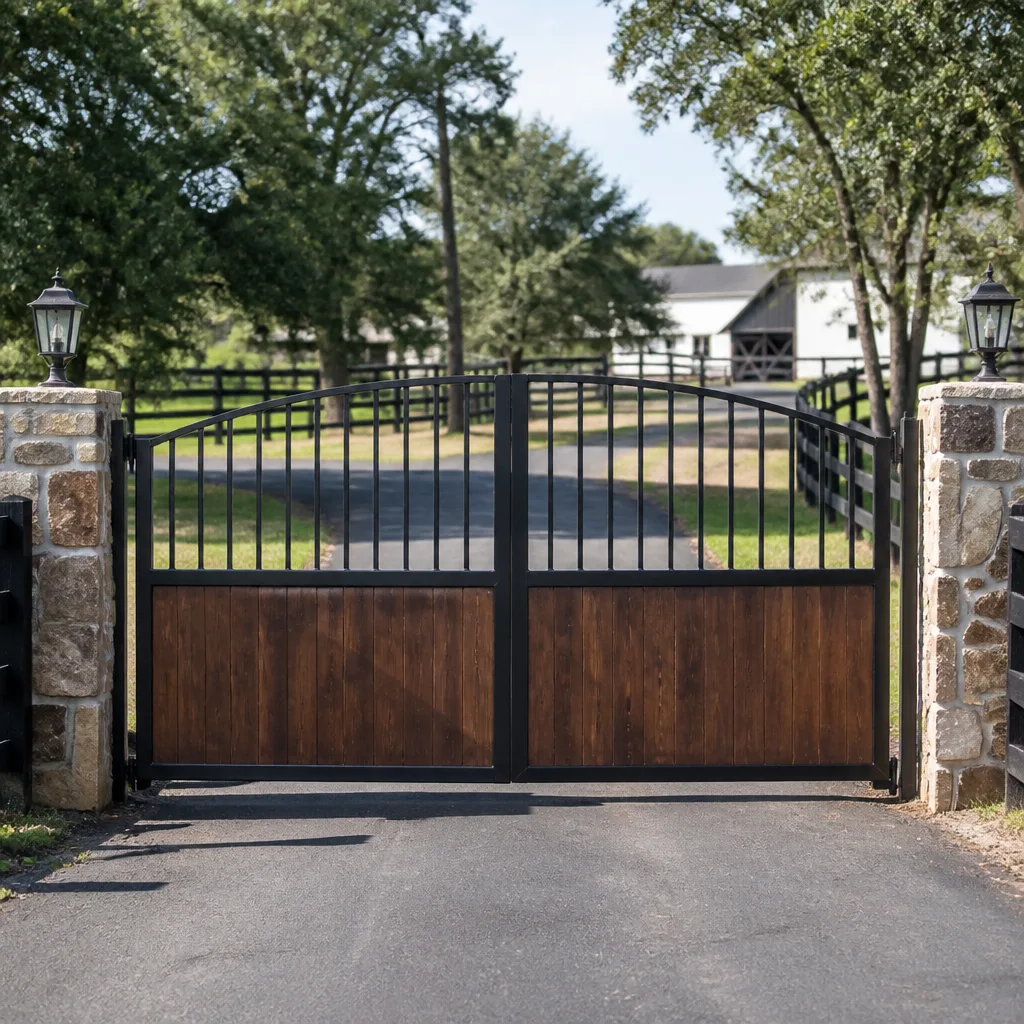
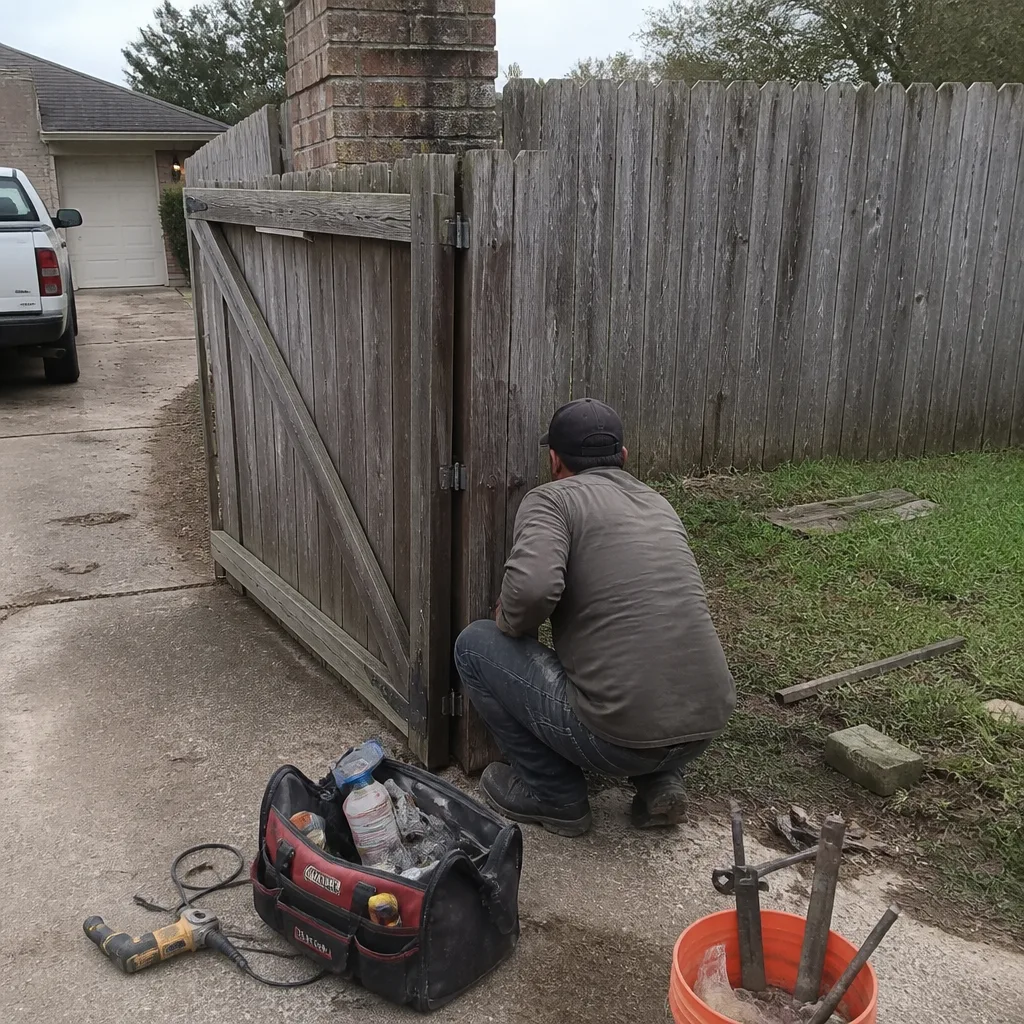 Before
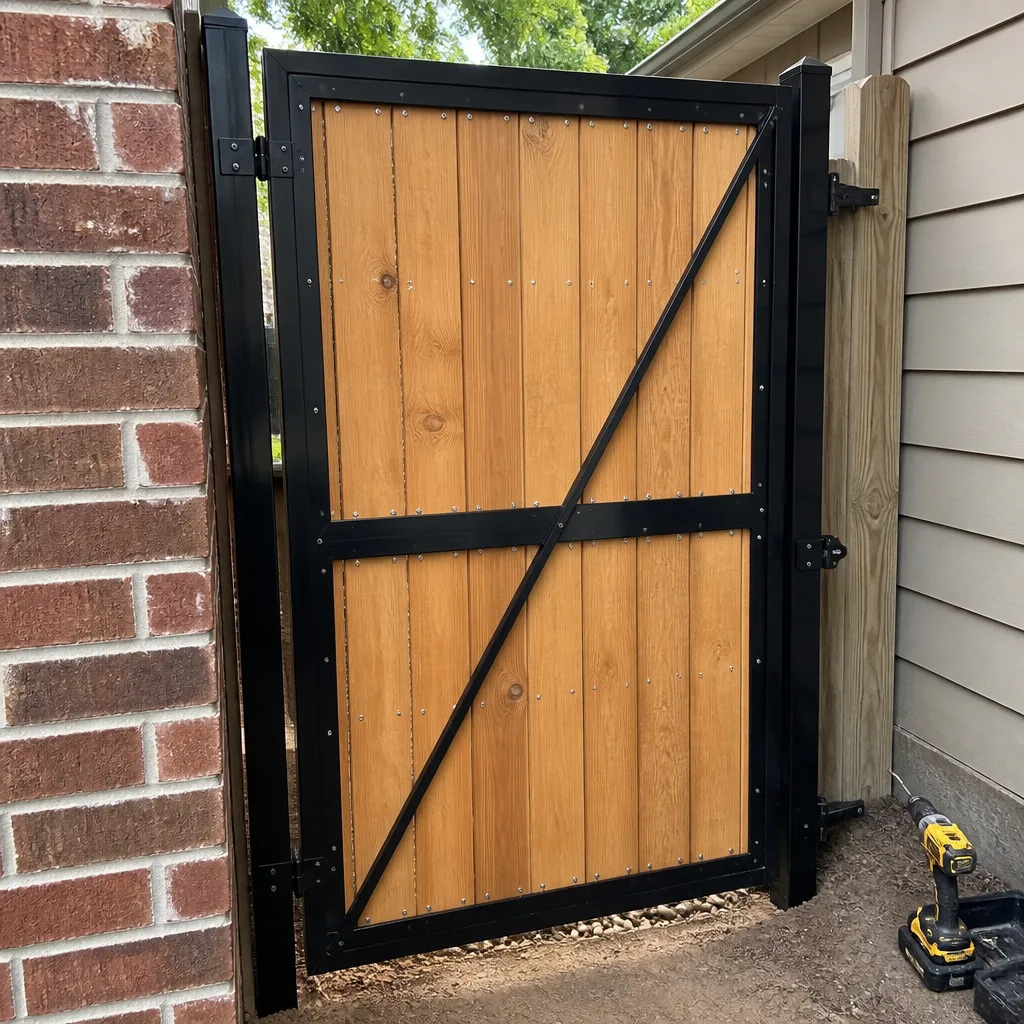 After
After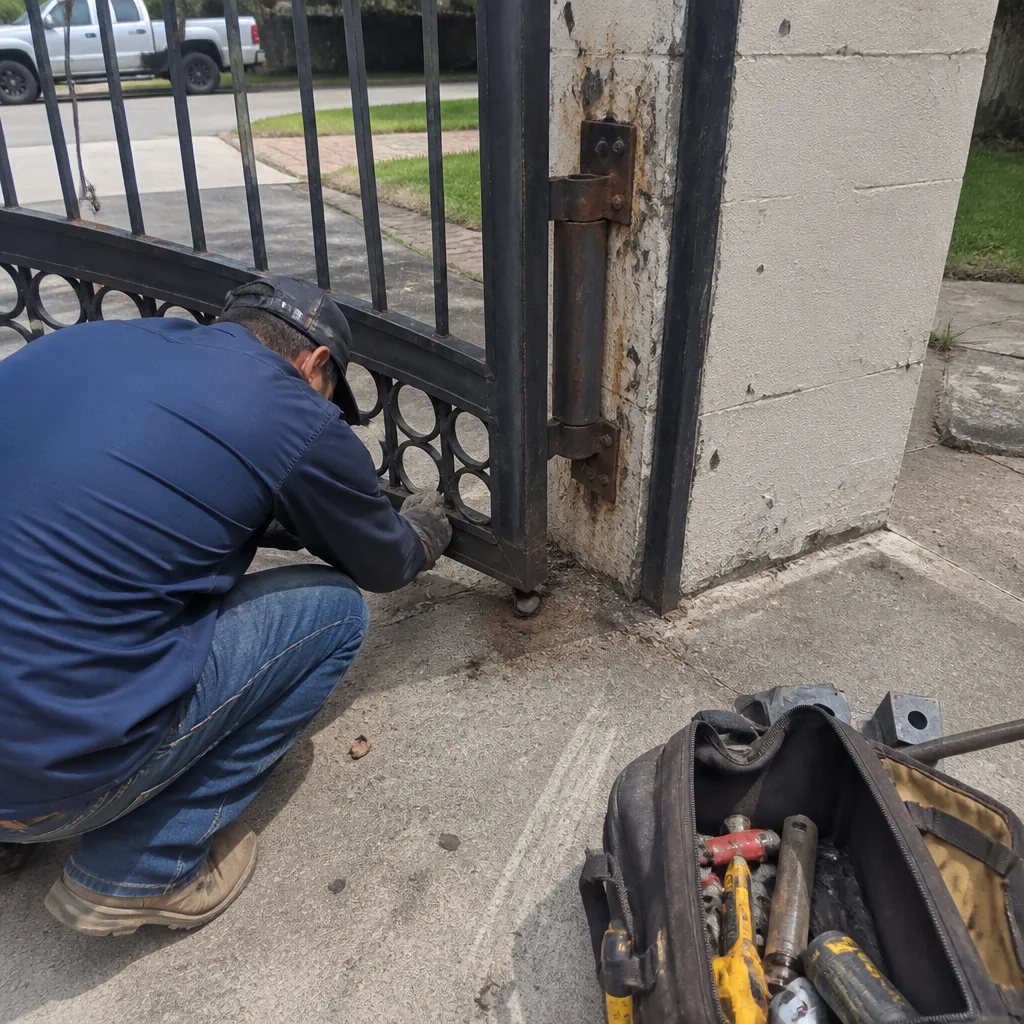 Before
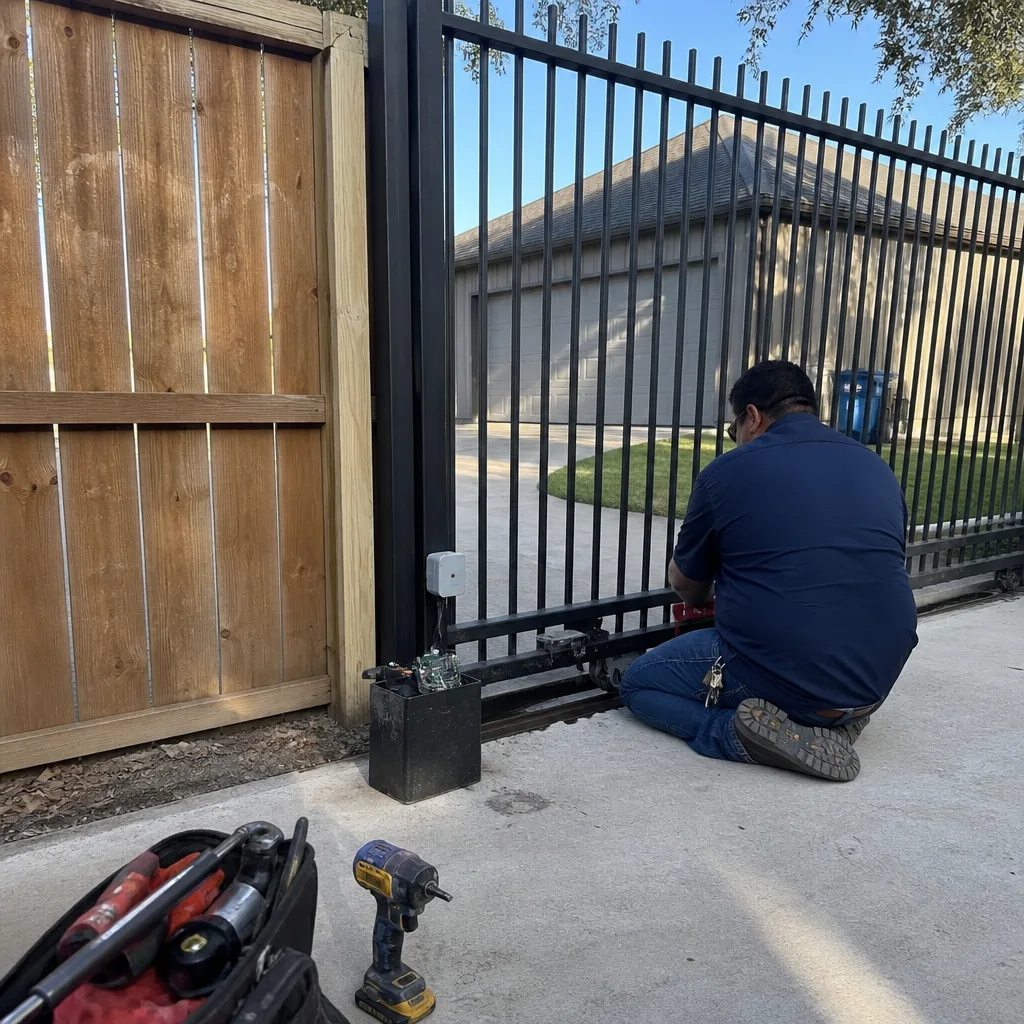 After
After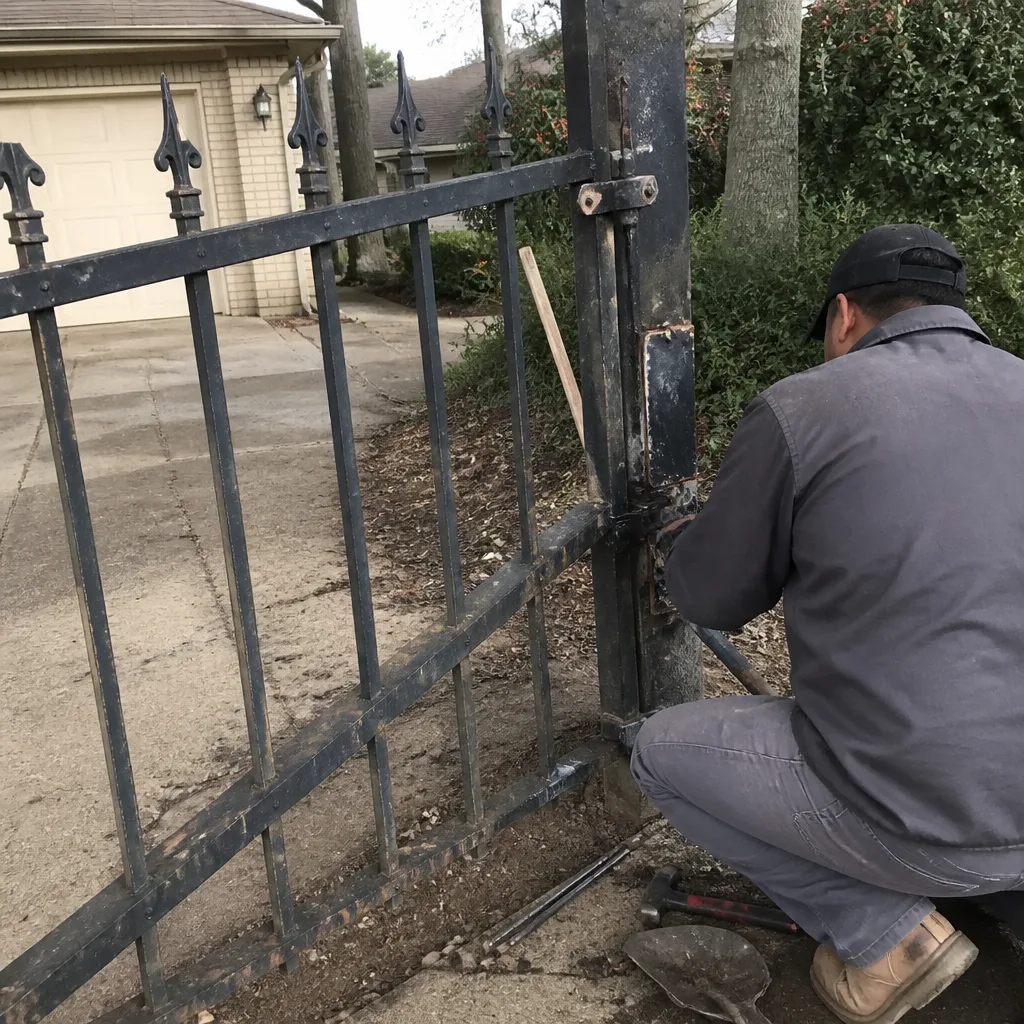 Before
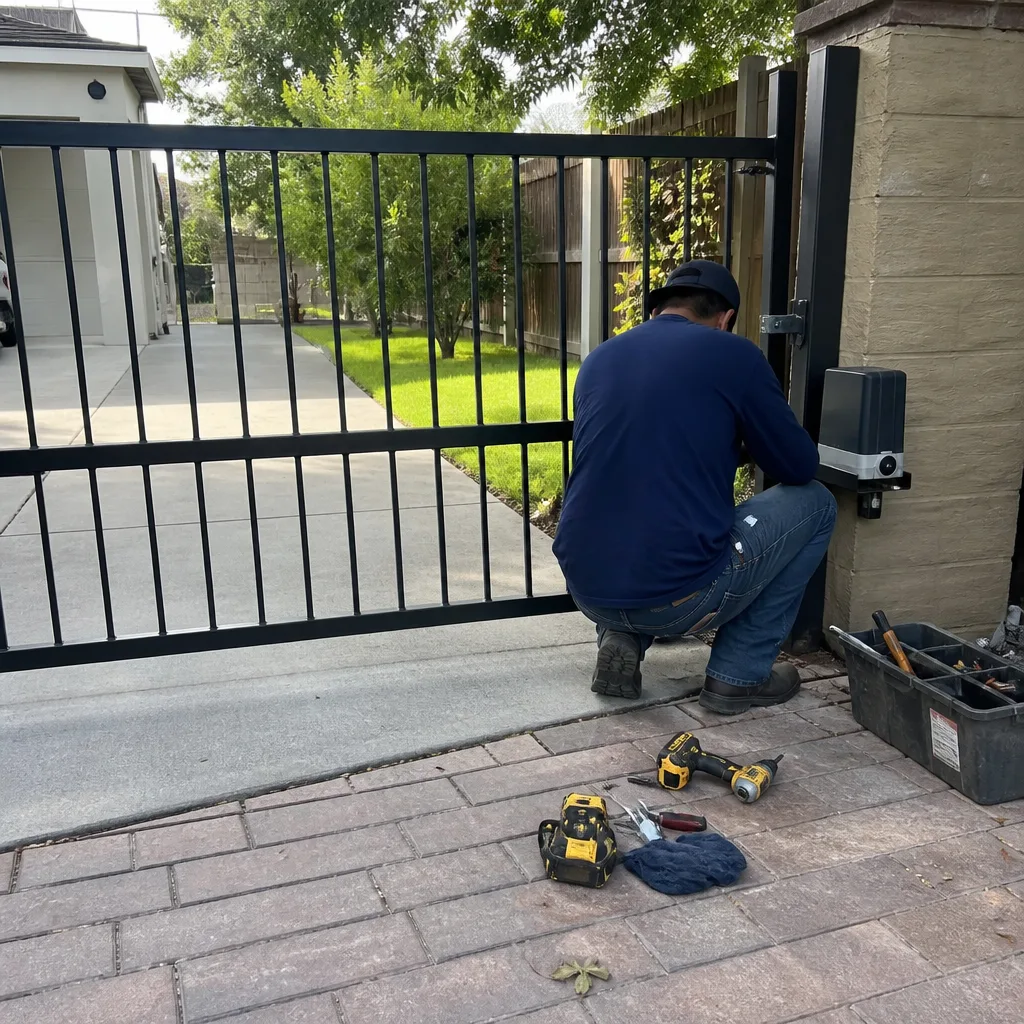 After
AfterGate Repair Maintenance Checklist for Katy Homeowners
Most gate maintenance checklists read like a grocery list: lubricate the hinges, check the battery, inspect the wheels. They never tell you what a failing hinge actually looks like, or what voltage reading means the battery is three weeks from dead. So you complete the list, check every box, and still end up with a gate that fails on a Tuesday morning when you’re already late. This guide fixes that. Every item here includes a pass/fail threshold you can verify without specialized tools, so a 20-minute walkaround actually tells you whether your Katy gate is healthy or quietly headed for a breakdown.
Quick Answer
A proper gate maintenance check in Katy takes about 20 minutes and covers hinges, wheels, the motor’s limit settings, battery voltage, safety sensors, and the chain or belt tension. You’re looking for specific thresholds: hinge play under 1/8 inch, battery voltage above 12.4 volts on a 12-volt system, and safety sensors that reverse the gate within two seconds of beam interruption. Run this checklist twice a year, once in spring and once after the first hard freeze.
Table of Contents
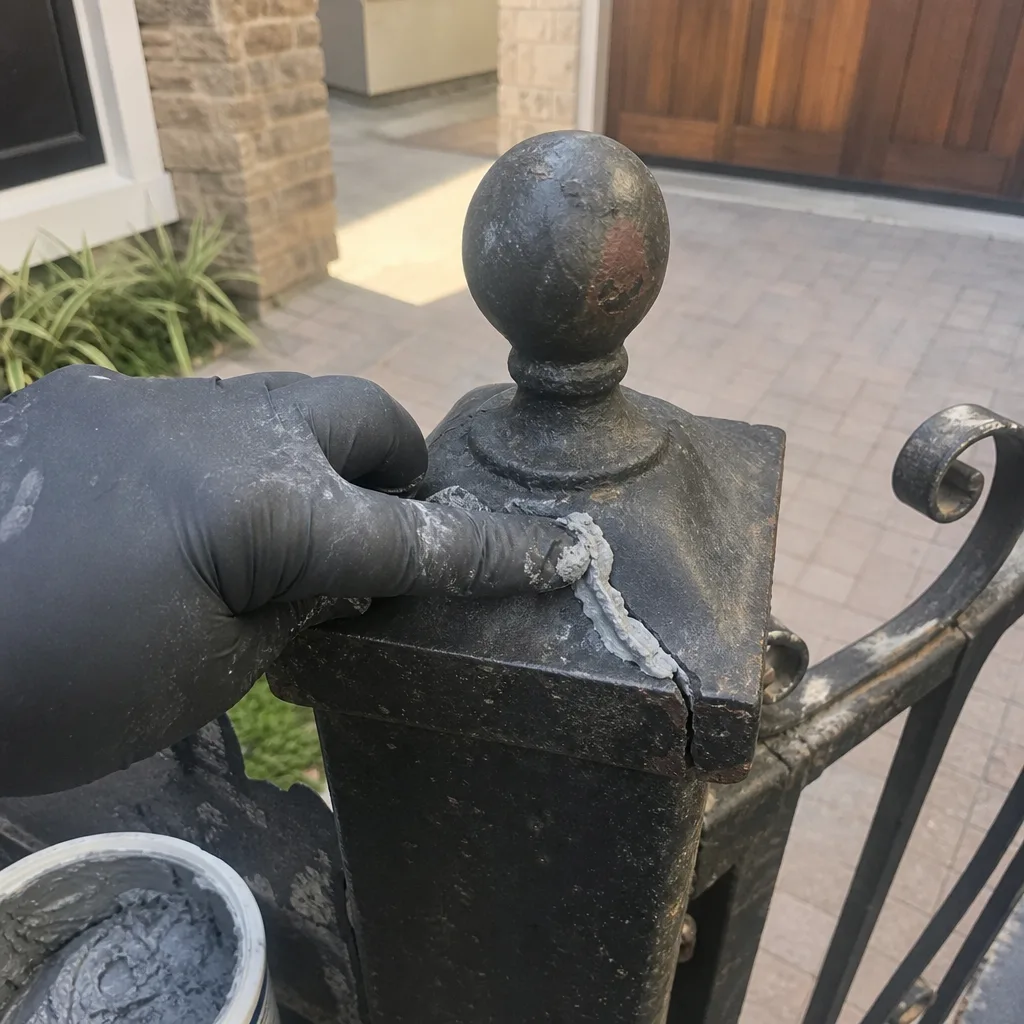
- Hinge and Pivot Point Inspection: What 1/8 Inch of Play Actually Means
- Battery and Backup Power: The Voltage Floor You Should Never Cross
- Limit Switches and Travel Range: Reading the Gate’s Physical Limits
- Safety Sensors and Photo-Eyes: Testing the Two-Second Rule
- Katy Climate Adjustments: What Changes Between August and January
- The Paper Log Method: Making Future Repairs Faster and Cheaper
- Three Neglected Items That Void Operator Warranties
- What to Photograph After Every Maintenance Pass
- Common Mistakes to Avoid
- When to Call a Professional
- Frequently Asked Questions
- The Bottom Line
BeforeAfterHinge and Pivot Point Inspection: What 1/8 Inch of Play Actually Means
Hinges fail slowly, then all at once. A gate that sags half an inch today will drag its latch end on the concrete within a season, and by then the hinge barrels are oblong and the repair bill has doubled. The threshold you’re checking for is simple: with the gate at rest, lift the latch end by hand. If you feel more than 1/8 inch of vertical movement before the gate starts to resist, the hinge pins or bushings are worn past spec. That’s the point where lubrication no longer solves the problem and replacement becomes the honest fix.
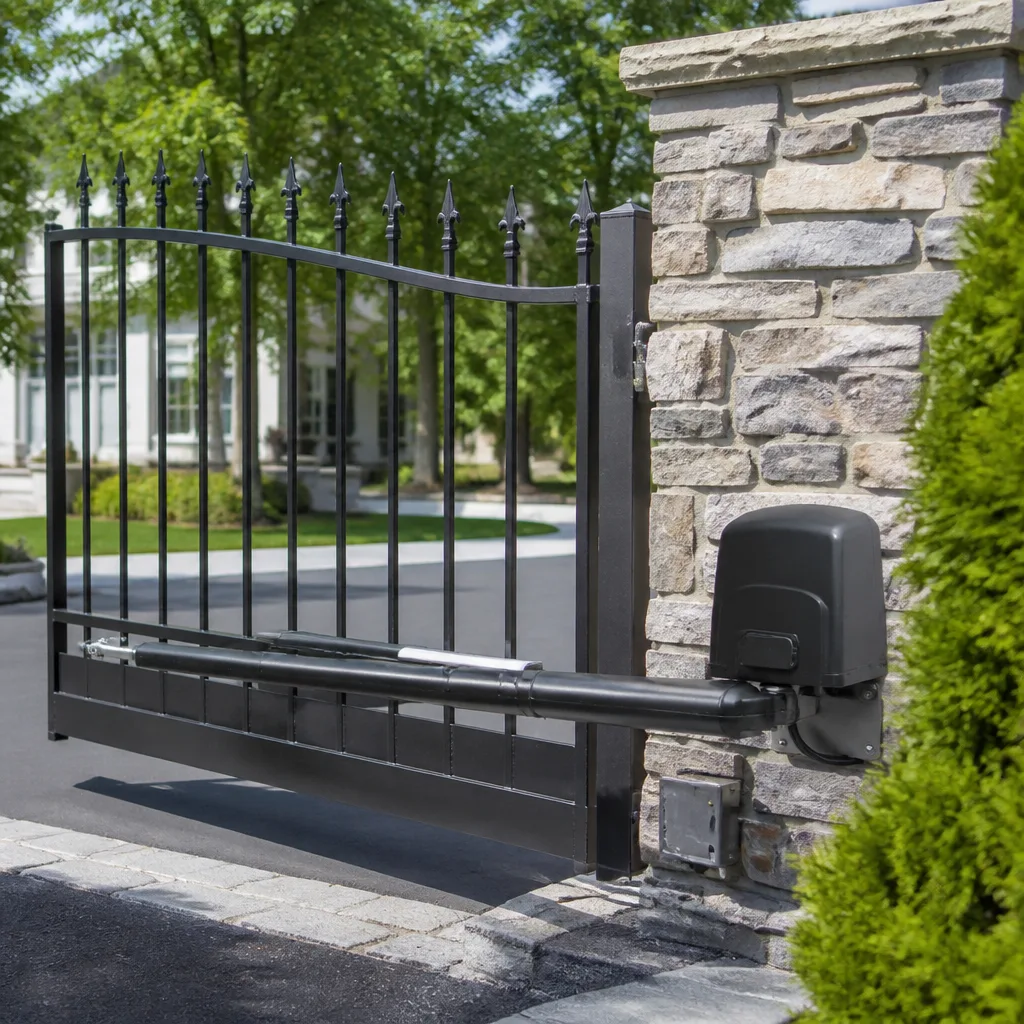
On a swing gate, you have two hinge assemblies, each with a pin that should sit centered in its barrel. Look closely at the barrel edges. If you see a raised lip of displaced metal, or if the pin sits at an angle rather than dead vertical, the hinge has been carrying weight it wasn’t designed for. In Katy, we regularly see this on driveways with a slight slope toward the street, where the gate’s natural resting position puts constant lateral load on the top hinge. The fix in those cases isn’t just new hinges, it’s a diagonal brace or a wheel support that removes the load.
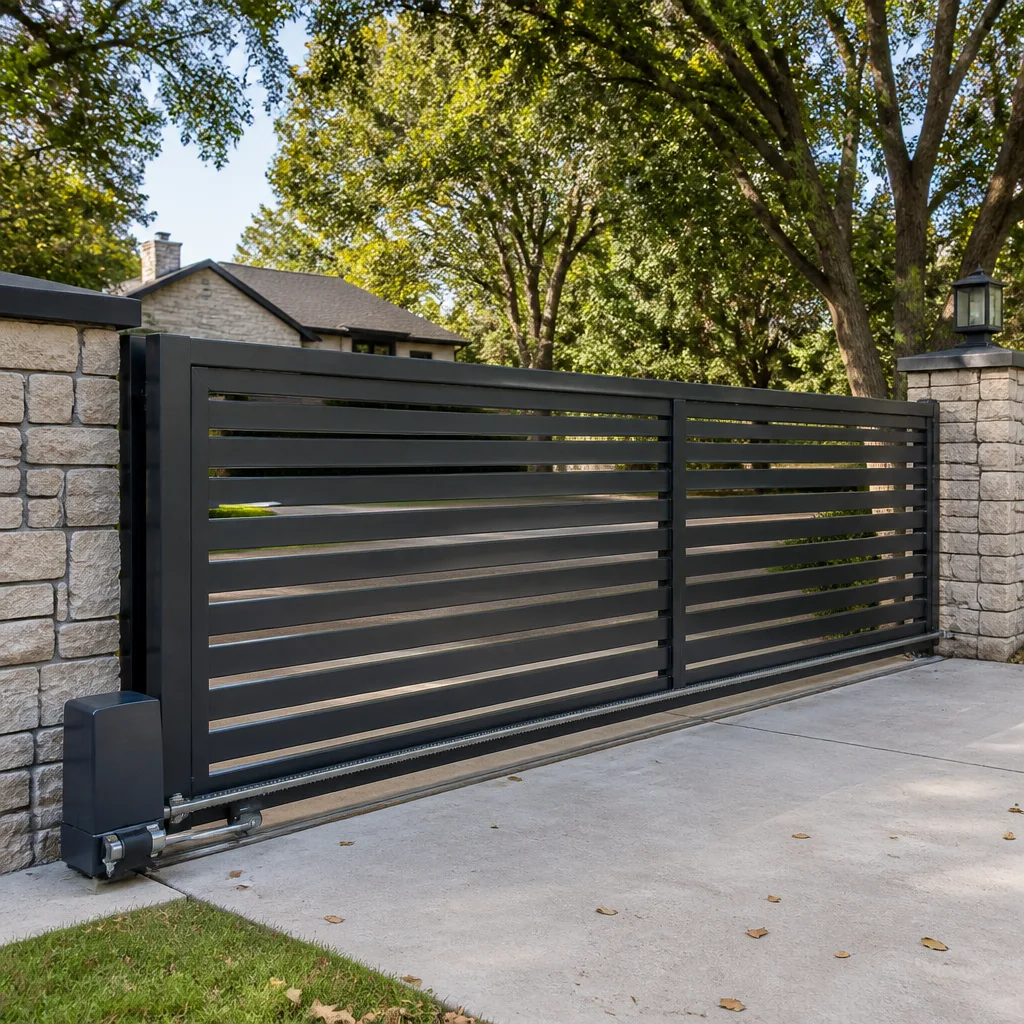
For slide gates, you’re checking the guide rollers and the track instead of hinge pins. Roll the gate through its full travel by hand using the manual release. Every roller should spin, not skid. A roller that drags flat spots into its own surface is already failing, and it’s grinding against the track with every cycle. Listen for a rhythmic thump as the gate passes a certain point, that’s the sound of a flat spot. Replace the roller now, and the track survives. Ignore it, and the track wears unevenly, which means a much larger job later.
Here’s the pass/fail summary for hinges and rollers:
- Pass: Less than 1/8 inch of play at the latch end; pins centered; all rollers spinning freely.
- Fail: More than 1/8 inch of play; visible metal wear at the hinge barrel; any roller that skids or thumps.
- Action on fail: For hinges, schedule replacement before the gate binds. For rollers, replace the failed roller and inspect its neighbors.
Battery and Backup Power: The Voltage Floor You Should Never Cross
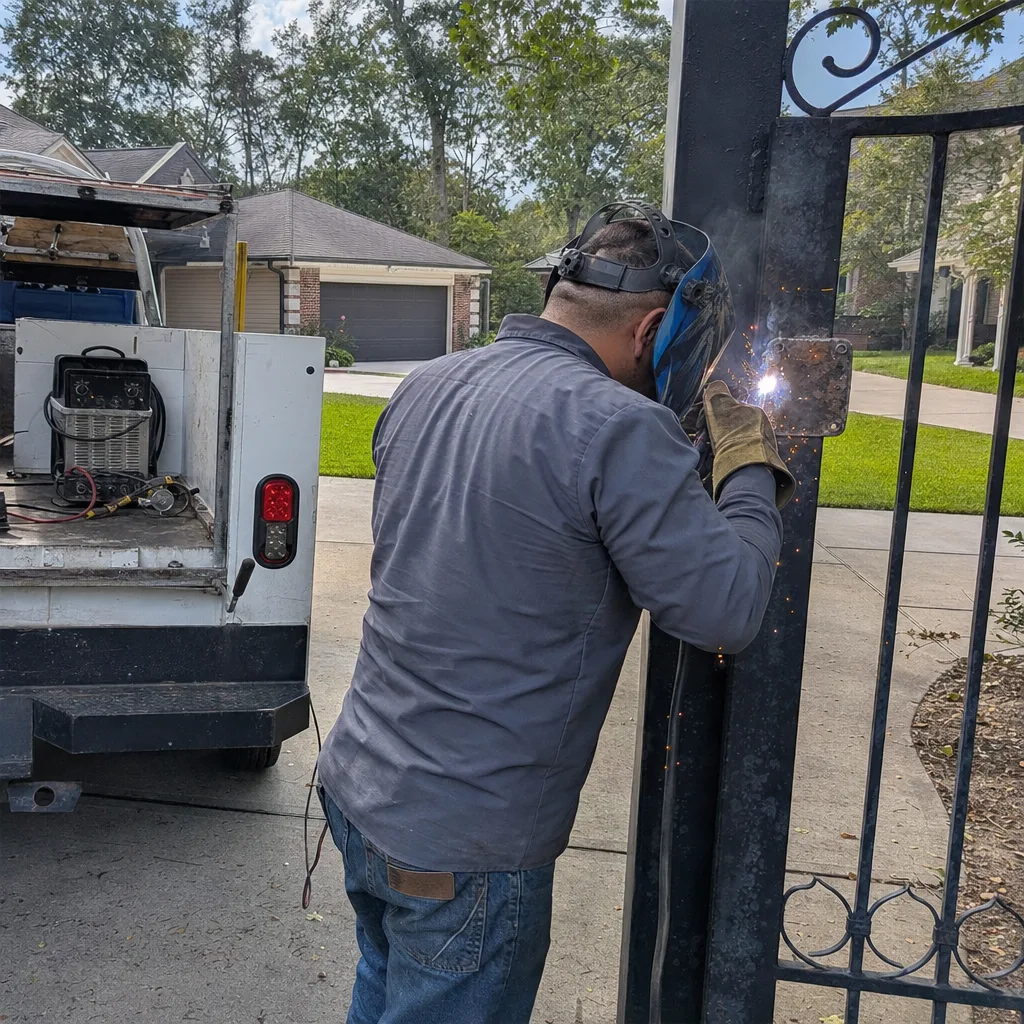
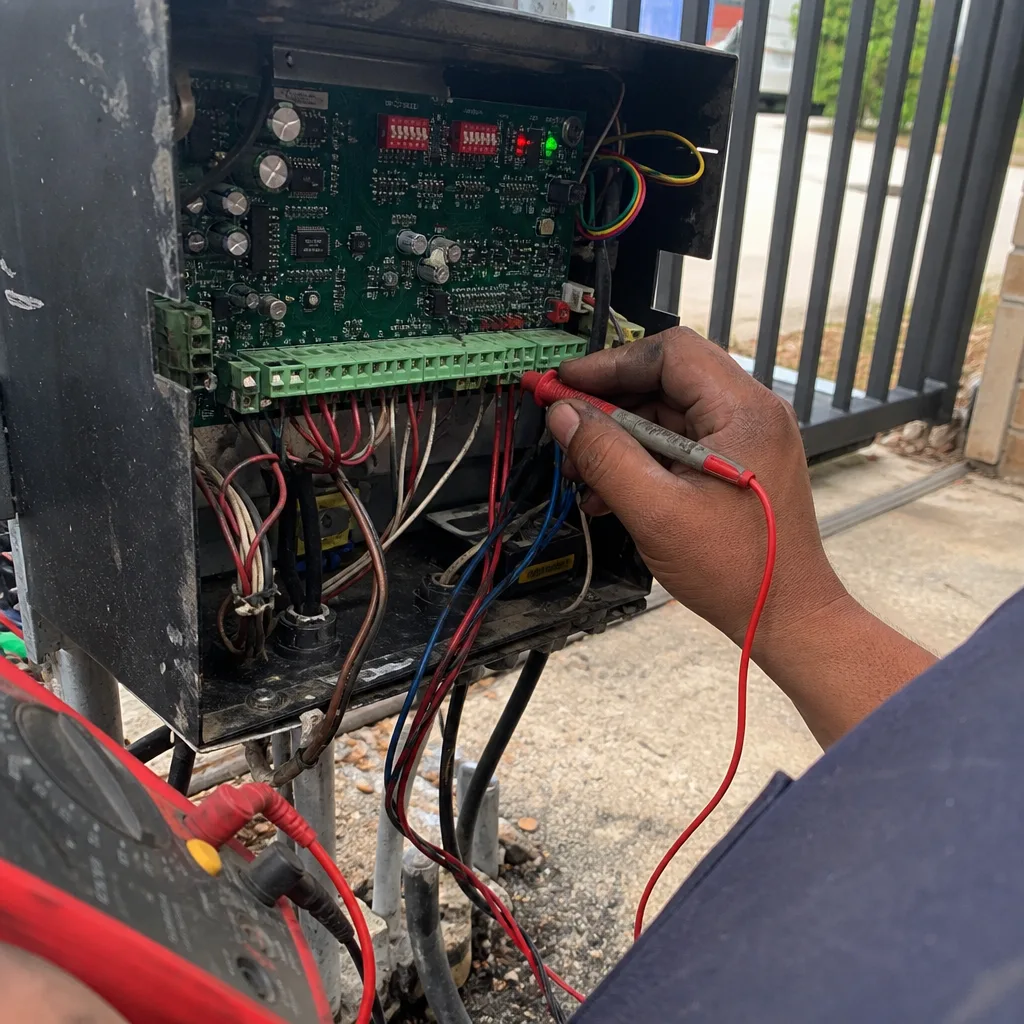
Every gate operator with a battery backup runs on DC power, and DC batteries die quietly. The gate keeps working while the battery degrades, right up until the moment it doesn’t. The number that matters is voltage at rest. For a standard 12-volt system, which covers most residential swing and slide operators in Katy, a healthy battery reads between 12.6 and 13.2 volts when the charger has had at least four hours to top it off and the motor hasn’t cycled in the past 30 minutes. Readings between 12.2 and 12.4 volts mean the battery is aging. Below 12.2, the battery is running on borrowed time.
You’ll need a basic multimeter, which runs about $15 at any hardware store. Set it to DC voltage, touch the red lead to the positive terminal and the black to the negative, and read the number. If you don’t own a multimeter, a quicker field check is the operator’s built-in status light. Most LiftMaster and FAAC boards show a solid green for a healthy battery, amber for a charging or marginal state, and red or flashing for a fault. But lights lie when the charger itself is failing, which is why the multimeter reading is the one that counts.
Battery location matters in Katy’s heat. Operators installed on west-facing walls or inside unventilated steel enclosures cook their batteries years ahead of schedule. Heat accelerates the chemical breakdown inside a sealed lead-acid battery, and sustained enclosure temperatures above 110°F will cut a five-year battery to two. If your operator box is too hot to hold your hand against in August, the battery inside is aging faster than the manufacturer’s spec suggests, and your replacement interval should move from five years to three.
- Pass: 12.6 volts or higher at rest; status light steady green; enclosure warm but not hot.
- Fail: Below 12.4 volts at rest; status light amber or flashing; enclosure too hot to touch on a summer afternoon.
- Action on fail: Charge and retest. If the reading doesn’t hold above 12.4 after a full charge cycle, replace the battery.
Limit Switches and Travel Range: Reading the Gate’s Physical Limits
The limit switch is the operator’s instruction for where the gate should stop. On a swing gate, it’s usually set in degrees of arm travel. On a slide gate, it’s often a magnetic sensor or a mechanical switch the gate carriage trips as it passes. When the limit setting drifts, the gate doesn’t know it. It keeps running until it hits something, which is how gears strip and arms bend.
You can test the limits without opening the operator. Put the gate in motion and watch it stop. A correctly set swing gate stops with the latch seated and the gate leaf parallel to the fence line, not angled a few degrees open because the motor stopped early, and not driving past parallel to push against the catch post. A correctly set slide gate stops with the leading edge touching the catch post but not slamming into it, and with the rear of the leaf just clear of the track opening. If you hear the motor labor for a second before the limit trips, the gate is pushing against structure, and that’s wrong.
The second reading to take is consistency. Run the gate through five full open-close cycles. The stopping point should be identical every time. If the gate stops an inch sooner on cycle three than cycle one, the limit switch or the magnetic sensor is drifting, and the problem will get worse. This is the kind of finding we document on every service visit, because a limit switch that’s drifting today often indicates a motor mount that’s loosening.
- Pass: Gate stops cleanly at the same point five cycles in a row; no motor strain at the stop point; latch seats naturally.
- Fail: Stopping point varies between cycles; gate pushes against the post; motor audibly strains before stopping.
- Action on fail: Adjust the limit to spec and secure the motor mount. If the drift returns within a week, inspect the switch itself for wear.
Safety Sensors and Photo-Eyes: Testing the Two-Second Rule
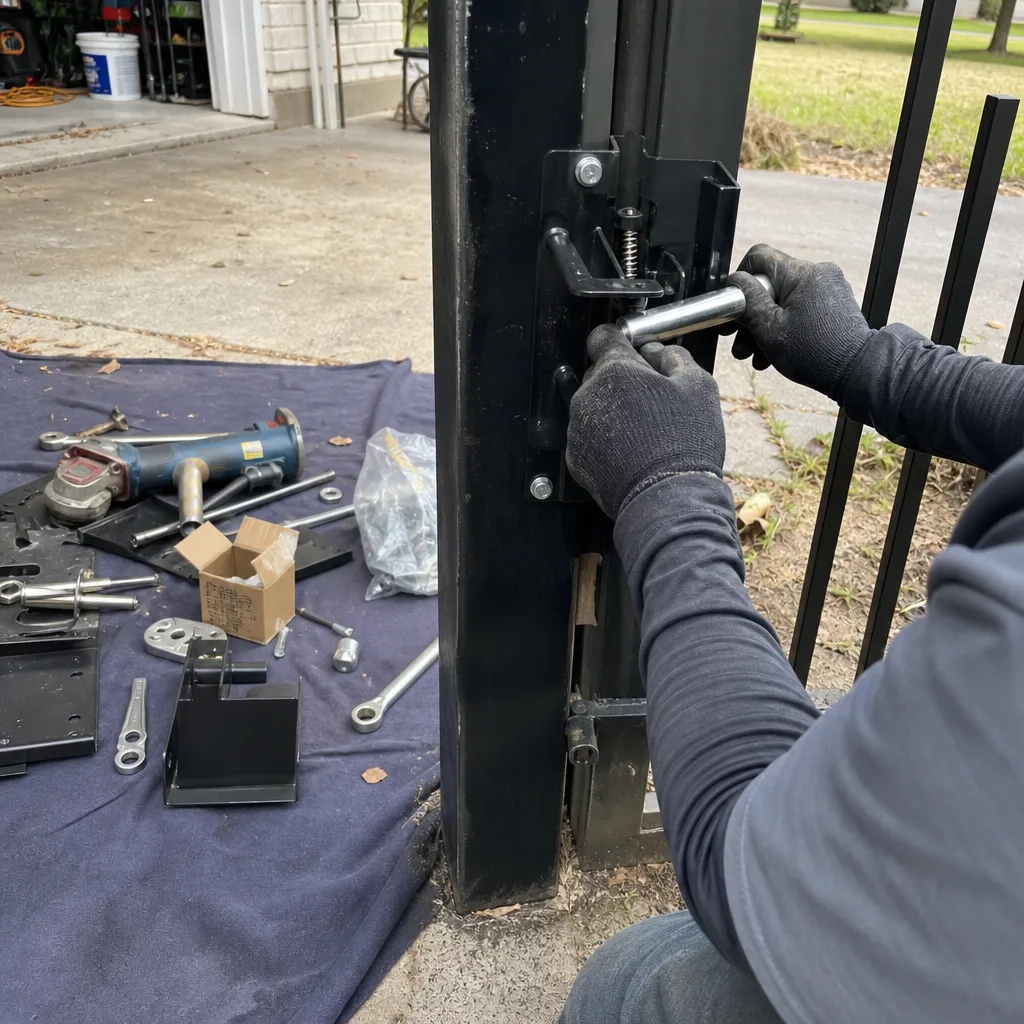
A photo-eye is the infrared beam that runs across the gate opening near ground level. When something crosses that beam while the gate is moving, the gate must stop and reverse within two seconds. That two-second window is the pass/fail threshold, and it’s non-negotiable. UL 325, the standard that governs automated gate safety in the United States, exists because gates that don’t reverse have caused serious injuries. This is not a cosmetic check. This is the one item on the list where a failure means the gate should be locked in manual mode and taken out of automatic service until the sensor is repaired.
To test, start the gate closing and step through the beam path about six feet from the gate. The gate should stop and reverse within two seconds. If it hesitates, slows gradually, or continues through the beam, the photo-eye is misaligned, dirty, or electrically compromised. In Katy’s rainy season, we routinely find photo-eyes that pass a visual inspection but fail a live test because moisture has seeped into the sensor housing and corrupted the signal. The lens can be clean and the beam still dead.
Check the alignment by looking at the receiver lens. Most photo-eyes have a small indicator LED that glows steady when the beam is aligned and flickers or goes dark when it isn’t. Wipe both lenses with a dry cloth, never a wet one that leaves residue. Then walk the test again. If the gate still doesn’t reverse, mark the sensor as failed and call for service. This is one item where the DIY fix genuinely stops at cleaning and retesting, the wiring and circuit-level diagnosis on safety sensors belongs to a technician who can verify the fail-safe behavior under load.
- Pass: Gate reverses within two seconds of beam interruption; indicator LED steady; lens clean and dry.
- Fail: Gate continues through the beam; reversal takes longer than two seconds; indicator LED flickering or dark.
- Action on fail: Clean and realign. If the gate still doesn’t reverse promptly, lock the gate in manual and call for service.
Katy Climate Adjustments: What Changes Between August and January
Katy’s climate punishes gates in two different ways depending on the season, and a maintenance checklist that doesn’t account for the difference is doing half a job. In August, the threat is expansion and thermal drift. Steel gate frames absorb heat all afternoon, and a dark-colored gate on a west-facing driveway can reach surface temperatures well above 150°F. That heat expands the metal, which changes the way the gate sits on its hinges and shifts the limit stop by a fraction of a degree. Gates that ran perfectly in March stop noticeably off-position by late August, not because anything broke, but because the geometry changed with the temperature.
In January, after a hard freeze, the threat is different: brittle plastic components and binding due to ground heave. The photo-eye housings, limit switch casings, and control board enclosures on most residential operators are ABS plastic, which loses impact resistance as temperatures drop below freezing. A bump that would bounce off in June can crack a housing in January. More subtly, the soil around a slide gate track or a swing gate post can heave slightly during freeze-thaw cycles, throwing the track out of level by an eighth of an inch. That’s enough to make a slide gate drag and a swing gate scrape.
Here’s the seasonal adjustment in practice:
- August check: Run the gate at 2 p.m. on a hot day, not in the morning. That’s when thermal expansion is at its maximum. If the gate misbehaves at peak temperature, the problem is real, not an anomaly.
- January check: Inspect every plastic housing for hairline cracks after the first freeze. Press gently on the photo-eye housings and limit switch covers. If they flex or show white stress marks at the screw mounts, daylight and moisture are getting inside.
- Track level check after freeze: Put a 4-foot level on the slide gate track at three points: the catch end, the middle, and the motor end. Any gap between the level and the track wider than 1/4 inch means the ground has moved and the track needs releveling.
The Paper Log Method: Making Future Repairs Faster and Cheaper
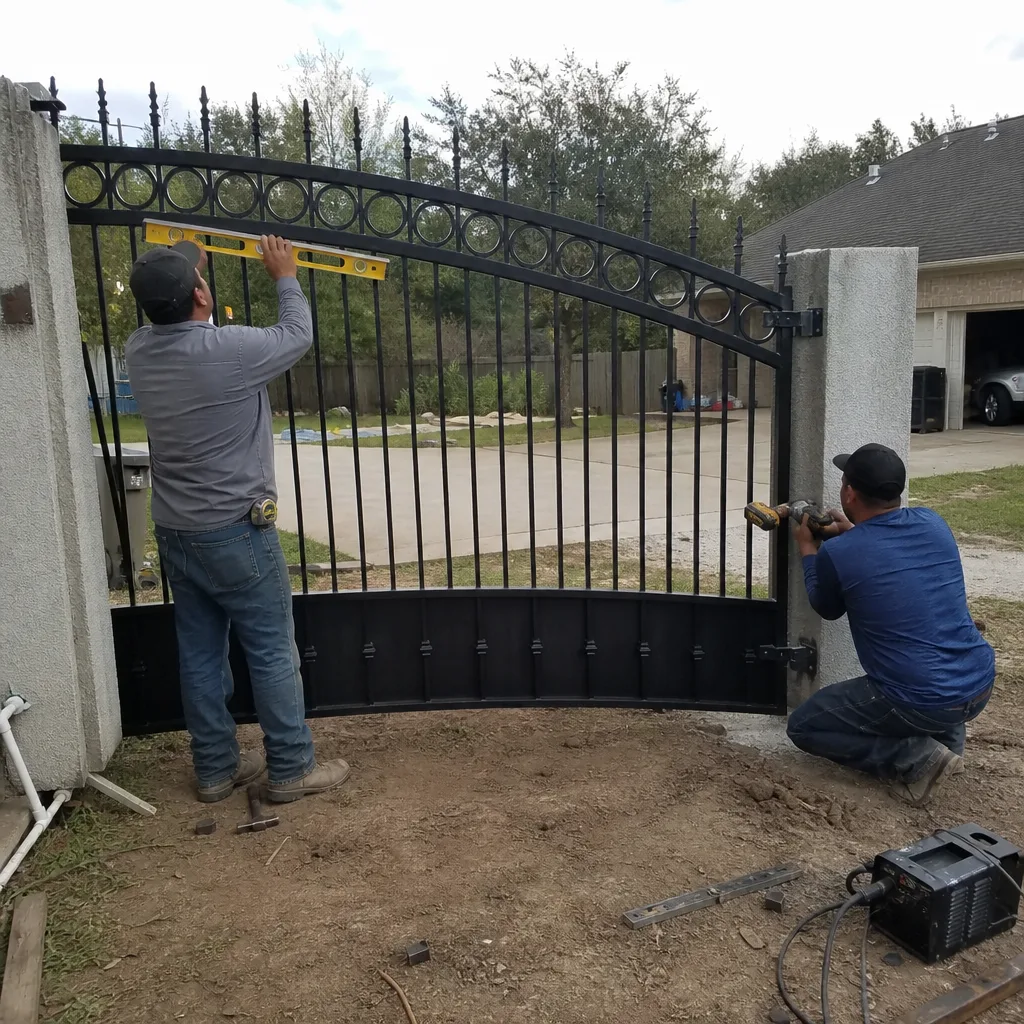
Every time a technician arrives at a gate they’ve never seen before, the first hour is spent re-diagnosing what the homeowner already knows. The gate has been slowing down for six months. It makes a clicking sound when it reverses. The battery died once in 2022 and was replaced. All of that is diagnostic gold, and almost none of it is ever written down. The result is a technician who has to work backward from the symptom rather than forward from the history, and that re-diagnosis time is billed to the homeowner.
The fix is a paper log kept in a ziplock bag inside or near the operator enclosure. One page per year. Every time you run the maintenance checklist, write down the date, the voltage reading, the hinge play in inches, and anything you noticed. If a technician repairs something, ask them to write the part number and the work performed on the same sheet. Under the Haven Standard, we do this automatically, every visit leaves a written record of what was found, what was set, and what was installed. But even if your gate service company doesn’t operate that way, you can make the same log yourself in five minutes.
Here’s the simple format:
- Date and time of check.
- Battery voltage reading.
- Hinge play measurement. In inches or fractions of an inch, not subjective words like “loose” or “fine.”
- Limit stop consistency. Pass or fail, based on the five-cycle test.
- Anything unusual. A sound, a pause, a scrape, a neighbor’s report of the gate opening on its own.
- Technician entries. Part numbers, adjustments made, photos taken.
That page, kept faithfully, is worth real money. When a repair is needed, the technician reads the log instead of asking you twenty questions. Diagnosis starts from the documented baseline instead of from zero, and a repair that might have taken a full diagnostic hour takes half that. We’ve seen a well-kept log cut two hours off a complex motor replacement because the homeowner could hand us the exact brand, model, and last-known voltage reading without opening the enclosure. That’s leverage, and it costs you a sheet of paper.
Three Neglected Items That Void Operator Warranties
Operator manufacturers write warranty exclusions for a reason, and in our experience working on gates across Katy, the same three exclusions come up again and again. None of them requires a special tool to prevent. All of them are almost universally ignored on residential properties.
First: the surge protector. LiftMaster, FAAC, BFT, and most other operator manufacturers require the operator to be connected through a surge protector, not directly to the outlet. Katy gets electrical storms through the spring and fall, and a nearby lightning strike can send a spike through the control board that kills it instantly. The surge protector is a $40 part that takes ten minutes to install, and its absence voids the warranty on the board, which is often a $300 to $600 component. Open the operator enclosure and look. If the power cord runs straight to a standard outlet, the warranty on the board is already technically void.
Second: the water seal. Every operator enclosure has a gasket or a sealed cover that keeps rain and humidity out of the electronics. Katy’s humidity is relentless, and enclosures that are opened for battery changes or troubleshooting sometimes get closed with the gasket pinched or the cover screws not fully tightened. A pinched gasket lets condensation form inside the enclosure, and the resulting corrosion on the board terminals is exactly the kind of damage manufacturers call environmental, which means not covered. After any service visit, run a finger around the enclosure seam. If you feel a gap or the gasket bulges out, the seal isn’t seated.
Third: the manual release mechanism. Most operators have a release handle or key that disengages the motor and lets the gate swing or slide by hand. Manufacturers require this to be exercised periodically, because a release mechanism that seizes from disuse means the gate can’t be opened manually during a power outage, which creates a safety issue on top of a mechanical one. Pull the release once during every maintenance pass. It should move smoothly. If it sticks or grinds, lubricate the mechanism and cycle it five times. A seized release is a warranty claim waiting to be denied.
What to Photograph After Every Maintenance Pass
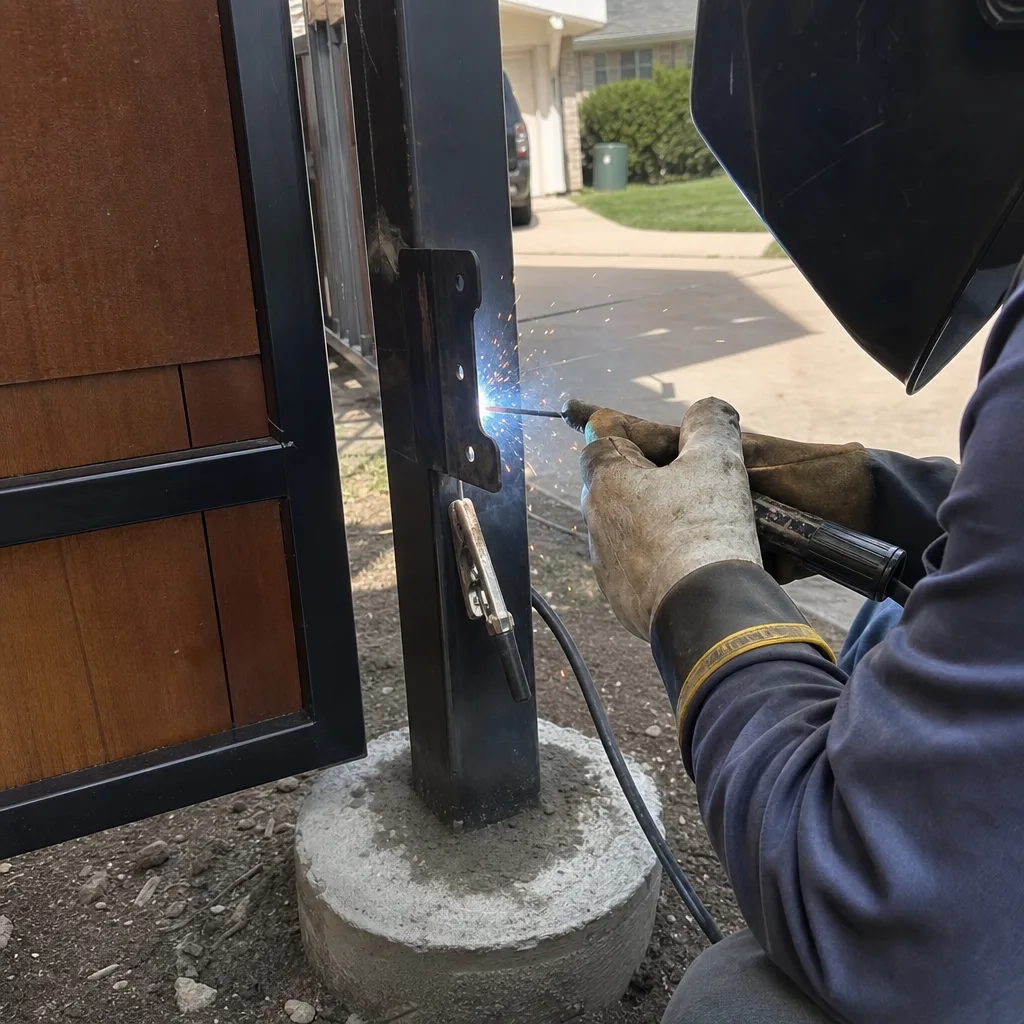
Most homeowners photograph their gates exactly once: when something breaks. That’s backwards. The photograph you need after a failure is the one that shows how the gate looked before the failure, so you can prove what changed. Without a baseline, you’re arguing from memory, and memory doesn’t hold up when the question is whether a hinge was already worn before a storm or the technician left it that way.
Take five photographs every time you run this checklist. Store them in a folder on your phone, or print them and keep them with the paper log. The five shots:
- Both hinges or the full track, close enough to see surface condition. This is your wear baseline.
- The operator enclosure with the cover off. Shows battery condition, board cleanliness, and whether the surge protector is present.
- The photo-eye alignment. A straight-on shot from the receiver side, showing the beam path.
- The limit stop position. Where the gate sits at full open and full close.
- The latch and catch. Showing how the gate seats against the post.
The point of the photograph record is not to document a problem. It’s to document normal. When a problem develops later, and you can show a technician a photo from March where the hinge was clean and a photo from September where the barrel shows visible wear, the diagnosis is faster and the cause is clear. Under the Haven Standard, Clause 4, we do this automatically on every visit, and we leave the photos with the homeowner. But you don’t need us to start the practice. It works the same way with a phone camera.
Common Mistakes to Avoid
- Lubricating a hinge that’s already worn past 1/8 inch of play. Grease makes it feel smoother temporarily, but it doesn’t restore metal. The hinge keeps wearing, and the false sense of smoothness delays the repair until the gate binds hard.
- Testing the gate in the morning in August. Thermal expansion peaks in the late afternoon. A gate that runs perfectly at 9 a.m. can be dragging by 3 p.m., and if you only test in the cool hours, you’ll never see it.
- Replacing a battery without checking the charger output. A failing charger kills a new battery in months. If the system voltage at the battery terminals shows under 13.5 volts while charging, the battery is not the root problem.
- Ignoring a gate that stops one inch short one day out of five. Drift is the symptom, not the disease. The cause is usually a loosening mount or a worn limit switch, and both are cheaper to fix before the gear train takes the damage.
- Using WD-40 on gate hinges. It’s a solvent, not a lubricant. It washes out the existing grease and evaporates, leaving the metal drier than before. Use a white lithium grease or a silicone-based lubricant made for outdoor metal.
- Painting over a rusting hinge without treating the rust. Paint traps moisture against the corroded metal and the hinge continues to rot underneath the new coating. Rust must be removed and the metal treated before priming.
- Running the gate on a dead battery during a power outage without disengaging the manual release first. The charger isn’t working during the outage, and every cycle drains the battery to a level that damages its ability to recharge. Release the motor and operate the gate by hand.
When to Call a Professional
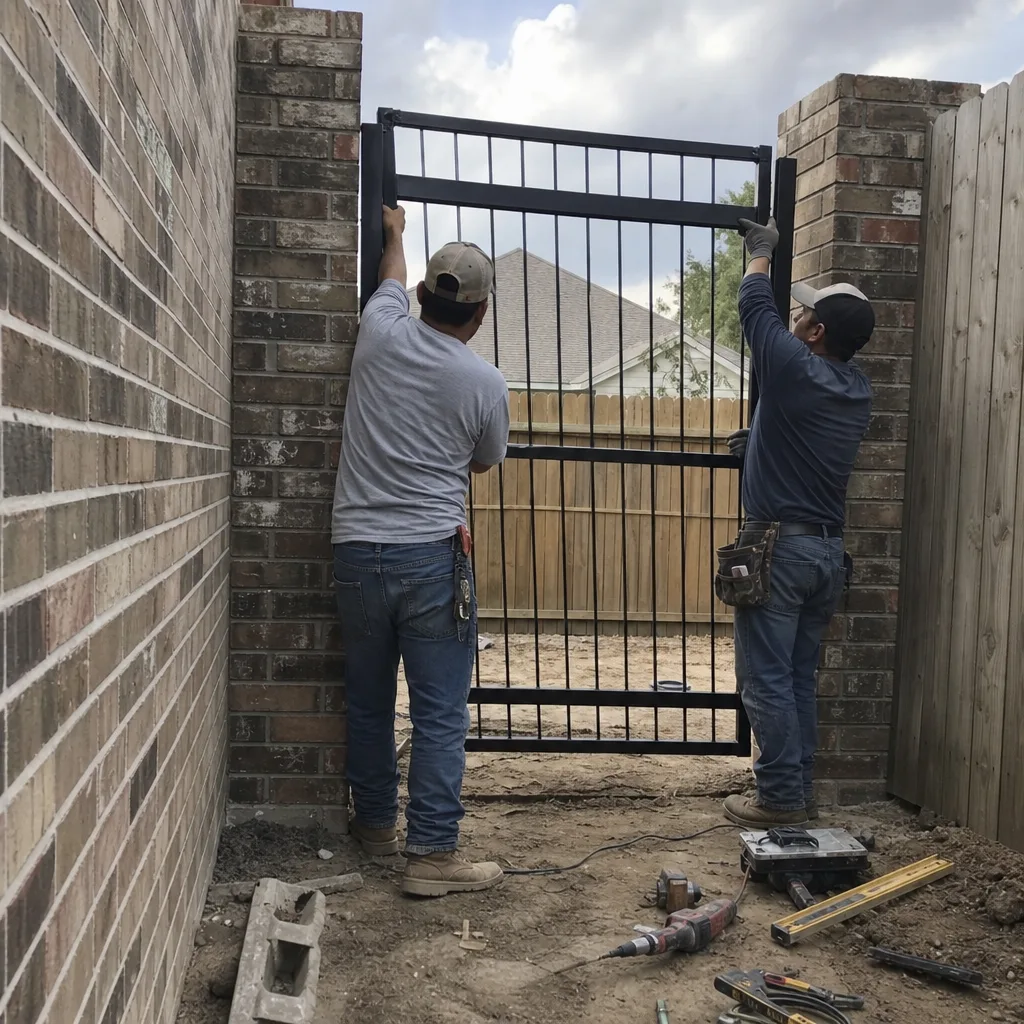
Some items on this checklist are genuinely DIY. Checking voltage, measuring hinge play, testing the photo-eye, all of that is within reach of a careful homeowner. But there are points where the right move is to stop and call our Gate Repair services. If the gate reverses on its own, especially at random times, that’s a control board or a signal problem that needs diagnostic equipment. If the motor hums but the gate doesn’t move, the gear train or the capacitor is failing. If the gate has drifted off its limit more than twice in a month, the switch itself is likely done. And if anything involving the torsion spring on a swing gate or the chain tension on a slide gate is making noise, stop running the gate. High-tension components are dangerous when they let go, and the diagnosis belongs to a trained technician, not a homeowner with a wrench.
If you’re in Katy and any of these fail conditions show up on your checklist, we’ll come out, run the full diagnostic, and hand you a written price before any work starts. Vance Gate Repair Katy offers free estimates on gate repair in Katy, and you can reach a live person at (346) 818-3319 any hour, any day.
Frequently Asked Questions
Twice a year, once in spring before the heat builds and once in late January after the first hard freeze. The two passes catch different seasonal failure modes, and spacing them six months apart gives you a documented baseline every year.
A healthy 12-volt gate battery should read between 12.6 and 13.2 volts at rest, at least four hours after the charger has been active and 30 minutes after the last gate cycle. Below 12.4 volts indicates an aging battery. Below 12.2, the battery is near the end and should be replaced.
Hinge replacement on a residential swing gate in Katy typically runs between $180 and $400 per hinge, depending on the gate’s weight, the hinge style, and whether grinding or welding is needed to fit the replacement. The price is always quoted in writing before any work starts.
Yes. Start the gate closing and step through the photo-eye beam about six feet from the gate. The gate must reverse within two seconds. If it continues or hesitates, clean both lenses with a dry cloth and realign until the indicator LED glows steady, then retest. If it still fails, lock the gate in manual and call for service, a failed safety sensor should not be ignored.
We work on nine major automation brands including LiftMaster, FAAC, BFT, Linear, Viking, Ghost Controls, DoorKing, Elite, and Mighty Mule. If your existing operator is repairable, we repair it, we don’t steer you toward a replacement unless the board or motor is beyond economical repair. You can read more about our gate motor and opener service in Katy.
It depends. If the outage lasts a few hours and the battery was healthy, cycling the gate a few times is fine. But if the outage extends for days and the charger has no power, every cycle drains the battery deeper. A lead-acid battery discharged below about 50% of capacity on a regular basis loses its ability to hold a full charge permanently. During an extended outage, use the manual release and operate the gate by hand.
Limit switch drift. The gate stops in slightly different positions over time, and the homeowner doesn’t notice because the difference is an inch at a time. By the time the gate is dragging or slamming, the gear train has absorbed months of unnecessary strain and the repair is more expensive than a limit adjustment would have been. The five-cycle consistency test catches this early.
The Bottom Line
A maintenance checklist that only tells you what to look at is half finished. The useful version tells you what a good reading looks like: under 1/8 inch of hinge play, above 12.4 volts on the battery, a gate that reverses within two seconds of a photo-eye trip, and a limit stop that lands in the same spot every cycle. Run those checks twice a year in Katy, once for the heat and once for the freeze, and write the results down, as detailed in our Gate Repair Permits, Codes & Inspections in TX: What You Need to Know. A paper log and five photographs per pass are the cheapest insurance against a big repair bill you’ll ever buy. And when something fails, call a professional, before the gate makes the decision for you.
If you’re ready for a documented maintenance visit or a full gate installation in Katy, we’re Vance Gate Repair Katy, and we answer the phone live at (346) 818-3319. Written price, photographic record, no surprises.
Written by Adrian Vance, Owner at Vance Gate Repair Katy, serving Katy since 2014.